Infographic / Edu Visual - Japanese Carbonara Recipe Infographic

Generates a vertical Japanese recipe poster for authentic Roman carbonara with ingredients, tips, cooking steps, and a branded footer.

提示词

2,901 字符打开 Astorie 创作台 ↗
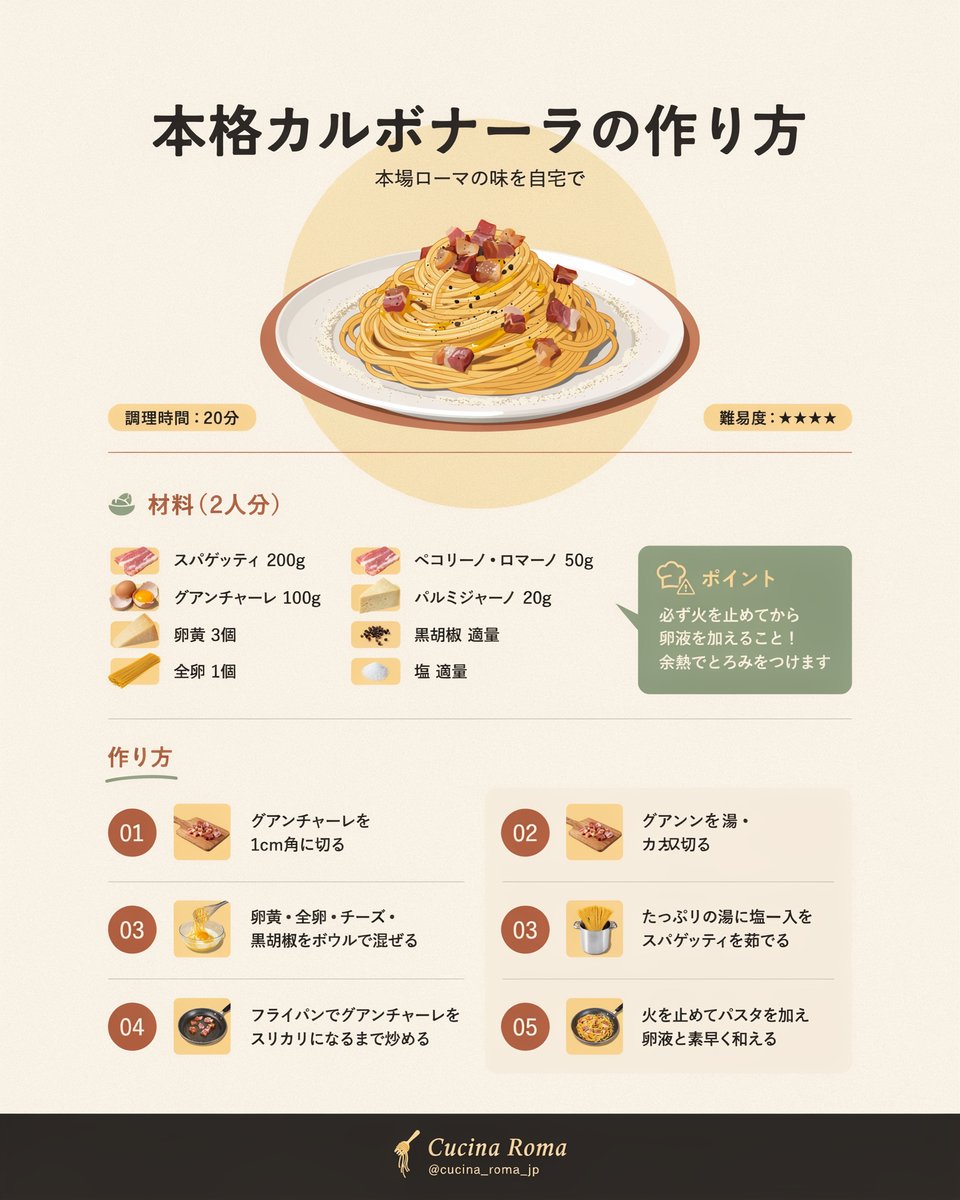
Goal: Create a clean Japanese recipe infographic poster for {argument name="recipe title" default="本格カルボナーラの作り方"}, showing authentic Roman carbonara in a warm editorial style.

Canvas: Vertical poster, approximately 4:5 aspect ratio, soft cream paper background with subtle grain. Center everything with generous margins and thin divider lines. Use a modern Japanese layout with rounded cards, muted earth tones, and high-quality flat food illustration.

Header: Large bold black Japanese headline at the top: {argument name="recipe title" default="本格カルボナーラの作り方"}. Under it, smaller subtitle: {argument name="subtitle" default="本場ローマの味を自宅で"}. Below the title, place a large illustrated plate of spaghetti carbonara on an oval white plate, with golden pasta, creamy sauce, black pepper specks, and cubed browned guanciale. Put a pale yellow circular halo behind the plate.

Info badges: Add exactly 2 small rounded yellow badges beneath the hero plate, one on the left reading {argument name="cooking time" default="調理時間:20分"}, and one on the right reading {argument name="difficulty label" default="難易度:★★★★★"}.

Ingredients section: Create a section titled 「材料(2人分)」 with a small green bowl icon. Show exactly 8 ingredient rows in two columns, each with a small square ingredient illustration and Japanese text: 1) 「スパゲッティ 200g」 with pasta/bacon-like icon, 2) 「グアンチャーレ 100g」 with egg/guanciale-style icon, 3) 「卵黄 3個」 with cheese wedge icon, 4) 「全卵 1個」 with yellow pasta/cheese icon, 5) 「ペコリーノ・ロマーノ 50g」 with cured meat icon, 6) 「パルミジャーノ 20g」 with cheese block icon, 7) 「黒胡椒 適量」 with peppercorn icon, 8) 「塩 適量」 with salt icon.

Tip card: To the right of the ingredients, place one muted green rounded rectangle card with a small chef-hat icon and heading 「ポイント」 in pale yellow. Body text: 「必ず火を止めてから卵液を加えること!余熱でとろみをつけます」.

Steps section: Below another thin divider, add the heading 「作り方」 in reddish brown with a short green underline. Use exactly 6 instruction cards arranged in two columns and three rows, each with a red-brown circular number badge, a small square cooking icon, and Japanese text. The visible number badges should be exactly: 01, 02, 03, 03, 04, 05. Step texts: 01 「グアンチャーレを1cm角に切る」, 02 「グアンを湯・カ丸切る」, 03 「卵黄・全卵・チーズ・黒胡椒をボウルで混ぜる」, duplicate 03 「たっぷりの湯に塩一入をスパゲッティを茹でる」, 04 「フライパンでグアンチャーレをカリカリになるまで炒める」, 05 「火を止めてパスタを加え卵液と素早く和える」. Keep some slight AI-generated awkwardness in the Japanese text to match the original look.

Footer: Add a dark charcoal horizontal footer band at the bottom. Center a small spaghetti/fork icon, the brand name “Cucina Roma” in elegant italic serif lettering, and the handle “@cucina_roma_jp” below it.

Visual style: Soft vector illustration mixed with polished infographic design, warm cream, ochre, caramel, muted green, and terracotta palette. Rounded corners, minimal shadows, clean Japanese typography, no photography, no extra sections, no watermark.

来自原帖查看来源 ↗

更多灵感

Product Marketing - Classic Cafe Date Outfit Prompt

Product Marketing - Classic Cafe Date Outfit Prompt

のぞむ*AIイラストGPT Image 2
OUTFIT:
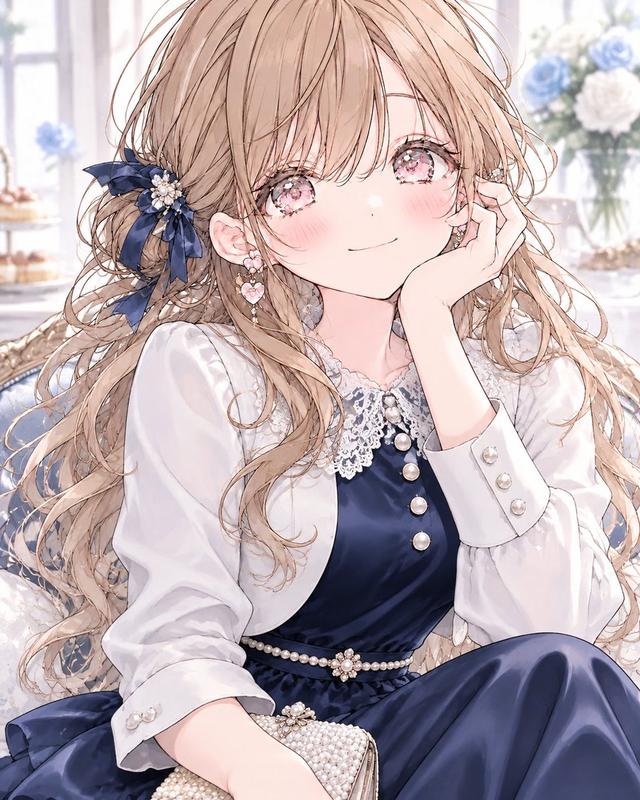
A {argument name="dress color" default="navy blue"} satin midi dress with elegant long sleeves and a delicate white lace collar, creating a refined, classic silhouette.

Accented with a thin pearl belt at the waist and layered with a small white bolero jacket for a graceful feminine touch.

Styled with black Mary Jane heels decorated with small ribbon details and a compact pearl clutch bag.

Elegant, romantic, classic café-date fashion aesthetic.
Navy blue, crisp white, black, and pearl ivory color palette.
Smooth satin, delicate lace, luminous pearls, and polished fabric textures.
Sophisticated, feminine, timeless seasonal styling.
Social Media Post - Watercolor Illustration Comparison Poster

Social Media Post - Watercolor Illustration Comparison Poster

SairahGPT Image 2
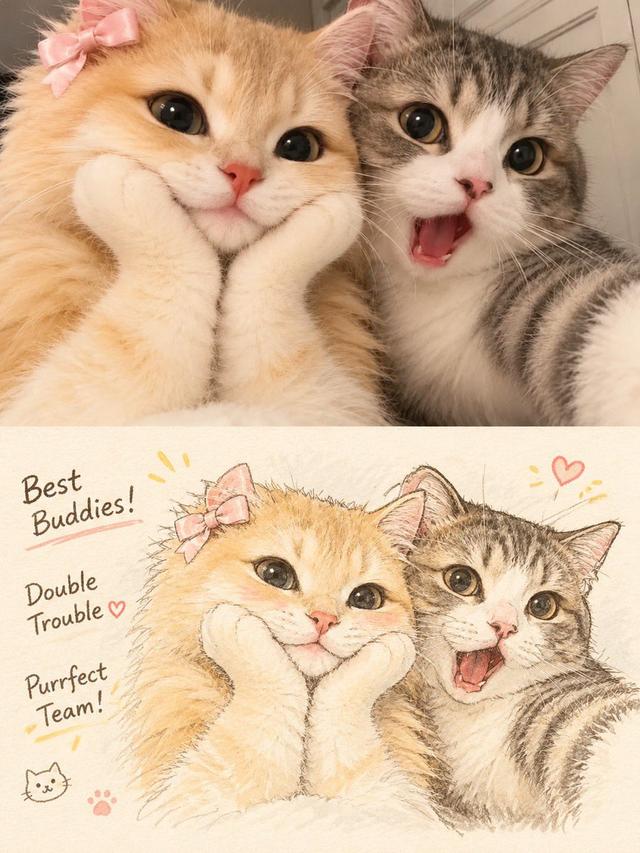
Transform the uploaded photograph into a beautiful, hand-drawn watercolor illustration comparison poster.

LAYOUT & COMPOSITION:
Create a vertical 3:4 poster divided into two equal horizontal sections.

TOP HALF — ORIGINAL PHOTO:
Display the original uploaded photograph exactly as it is. Preserve the original subject, pose, clothing, background, lighting, colors, and composition without alterations.

BOTTOM HALF — WATERCOLOR ILLUSTRATION:
Recreate the exact same photograph as a delicate, hand-painted watercolor and colored-pencil illustration. Preserve the subject's identity, facial features, hairstyle, expression, clothing, pose, proportions, and surroundings.

Use soft watercolor washes, delicate ink outlines, visible pencil strokes, subtle paper texture, warm pastel tones, gentle shading, and beautifully imperfect hand-drawn details. Give the illustration a charming Korean/Japanese lifestyle sketchbook aesthetic.

DECORATIVE DETAILS:
Add handwritten playful typography that complements the subject and scene. Include small hand-drawn doodles such as hearts, stars, arrows, crowns, underlines, or sparkles. Generate a short, creative phrase that matches the subject's personality or mood.

BACKGROUND:
Maintain the original environment but reinterpret it with loose watercolor brushstrokes, simplified scenery, and soft artistic details.

OVERALL STYLE:
Dreamy, cozy, youthful, elegant, artistic, and slightly whimsical. Use warm off-white textured watercolor paper as the illustration background.

IMPORTANT:
- Keep the original photograph completely unchanged in the top section.
- The bottom illustration must clearly depict the exact same moment.
- Do not invent additional people or objects.
- Maintain strong visual similarity to the original photograph.
- Make the typography look naturally handwritten, not digitally typeset.
- Ensure a clean 50/50 split with balanced composition.

High-quality editorial art poster, 3:4 vertical aspect ratio.
Social Media Post - Outfit of the Day Fashion Collage

Social Media Post - Outfit of the Day Fashion Collage

SairahGPT Image 2
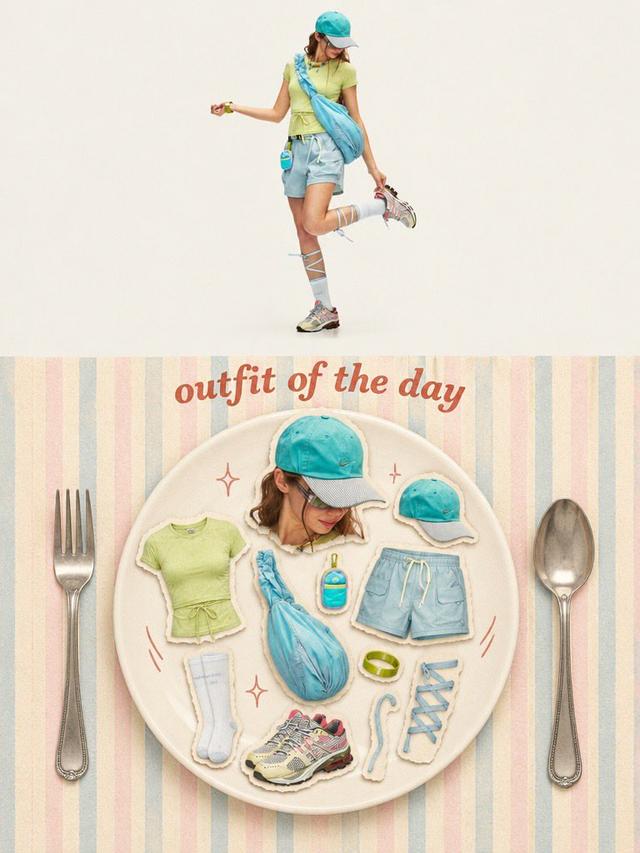
Transform the uploaded photo into a stylish OUTFIT OF THE DAY editorial fashion collage in a vertical 3:4 composition.

TOP SECTION (50%):
Create a full-body, high-end fashion editorial photograph of the person wearing the exact outfit from the reference image. Preserve their facial identity, hairstyle, clothing, colors, accessories, shoes, and natural proportions. Use a clean, warm ivory studio background, soft natural lighting, and a relaxed fashion-model pose.

BOTTOM SECTION (50%):
Create a creative flat-lay fashion moodboard arranged on a large elegant ceramic plate. Display individual outfit components as realistic paper-cutout stickers with subtle white borders and soft shadows, including:
- A cutout portrait of the person.
- Top, trousers or skirt.
- Shoes and socks.
- Hat, bag, jewelry and accessories.
- Any additional objects visible or relevant to the outfit.

Arrange everything aesthetically inside the plate, as if presenting a complete outfit recipe.

DESIGN & DETAILS:
Add elegant vintage-inspired typography reading "OUTFIT OF THE DAY" above the plate. Use a pastel striped background, oversized silver fork and spoon on either side, tiny hand-drawn sparkles and playful doodles.

VISUAL STYLE:
Premium Korean fashion magazine aesthetic, Pinterest-inspired editorial design, warm cream tones, pastel colors, realistic product photography, scrapbook collage, paper-cutout sticker effect, soft shadows, playful composition and refined vintage styling.

IMPORTANT: Automatically identify the clothing and accessories in the uploaded photo. Do not invent a different outfit or change the person's identity. Every item in the flat lay must correspond to the actual outfit or its visible accessories.

Ultra-detailed, polished graphic design, balanced composition, 3:4 vertical poster.
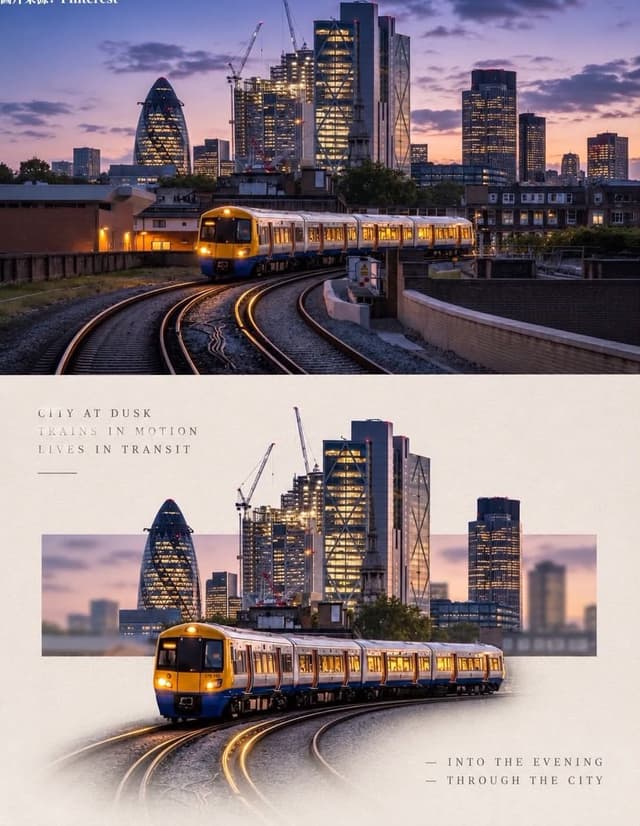
Social Media Post - Minimal Gallery Poster with Pop-Out Effect

Social Media Post - Minimal Gallery Poster with Pop-Out Effect

KGPT Image 2
Using the uploaded photo, create a 3:4 vertical poster split into top and bottom halves that touch seamlessly, with no white line, gap, or border between them.

Top: the original photo, full-bleed.

Bottom: a warm off-white textured paper background. The main subject is cut out, enlarged, and centered. Behind it, a thin horizontal rectangle shows a blurred crop of the original scene, and the subject breaks out of the frame (3D pop-out). The subject's base fades softly into the paper with natural particles, shadow, or reflection. Add small uppercase serif text in light grey with wide spacing: 3 short poetic lines at top-left and 2 lines with a "—" at bottom-right. Minimal gallery-poster style, photorealistic.
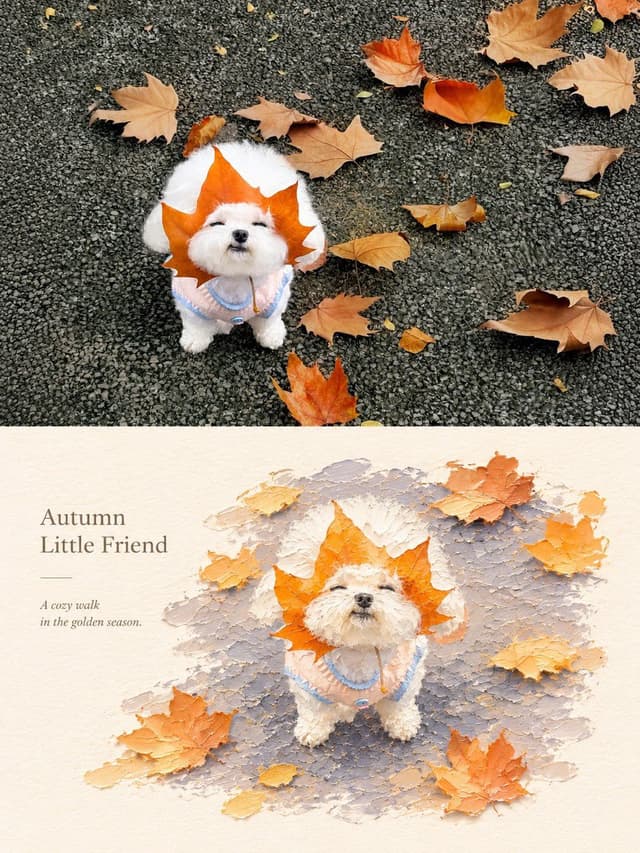
Social Media Post - Photography vs Impasto Oil Painting Poster

Social Media Post - Photography vs Impasto Oil Painting Poster

SairahGPT Image 2
Create a premium 3:4 vertical photography and impasto oil painting comparison poster using the uploaded photograph.

### LAYOUT
Divide the canvas into two perfectly equal horizontal sections (50/50):
- Top: Original photograph.
- Bottom: Artistic impasto oil painting interpretation.

Both sections must connect directly with a clean horizontal boundary, without gaps, gradients, or overlapping.

### TOP SECTION — PHOTOGRAPHY
Preserve the original subject's identity, quantity, pose, proportions, silhouette, details, composition, perspective, lighting, and natural colors. Apply only subtle premium color grading. Do not redraw, distort, duplicate, reposition, or alter the subject. No text or decorations.

### BOTTOM SECTION — ARTISTIC INTERPRETATION
Reimagine the same subject as a sculptural impasto oil painting micro-landscape. Use thick layered paint, palette-knife textures, handcrafted forms, raised edges, and expressive brushstrokes.

Keep the subject recognizable, centrally or slightly off-center, surrounded by generous warm-white negative space. Introduce a single color band inspired by the original photograph, transformed into a ground, water, pathway, or abstract landscape element.

### COLORS & TEXTURES
Extract a harmonious, limited color palette from the original photograph. Preserve the subject's natural color character while adding subtle brightness and luminosity. Use rich paint textures selectively, with refined subject details and delicate matte paper texture.

### TYPOGRAPHY
Add a short, elegant English title and one small supporting line within the lower section's negative space. Use thin, minimal typography. Generate text based on the actual subject or mood. Avoid invented dates, locations, logos, signatures, and unnecessary annotations.

### AESTHETIC
Quiet, minimal, sophisticated, and editorial. Create a collectible fine-art publication aesthetic through negative space, sculptural depth, material textures, and balanced composition.

### AVOID
Photo collages, altered subjects, unrelated scenes, illustrated photography, extra title bars, clutter, excessive decorations, incorrect text, watermarks, cartoon styles, neon colors, oversaturation, muddy tones, plastic-looking 3D, and cheap CGI.
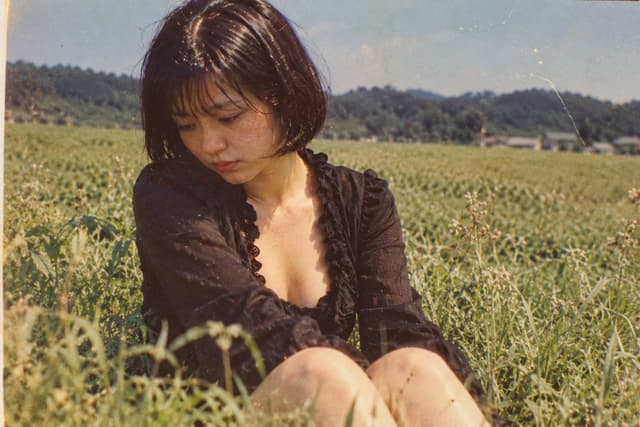
Social Media Post - Vintage Photo of Woman in Field

Social Media Post - Vintage Photo of Woman in Field

いがぐりメタボGPT Image 2
A nostalgic, vintage-style photograph of a young woman sitting in a lush green field. She has short, dark bobbed hair with bangs and is looking down with a pensive, melancholic expression. She wears a black, long-sleeved top with a deep V-neckline featuring ruffled edges. The background shows a vast expanse of tall grass or crops stretching toward distant hills under a clear sky. The image has a distinct retro aesthetic, characterized by film grain, warm color tones, scratches, and dust spots typical of old analog photography from the Showa era.

寻找下一个方向

ASTORIE CANVAS

让灵感,继续生长。

在同一个创作空间,连接提示词、参考素材和生成结果。

打开创作画布 ↗